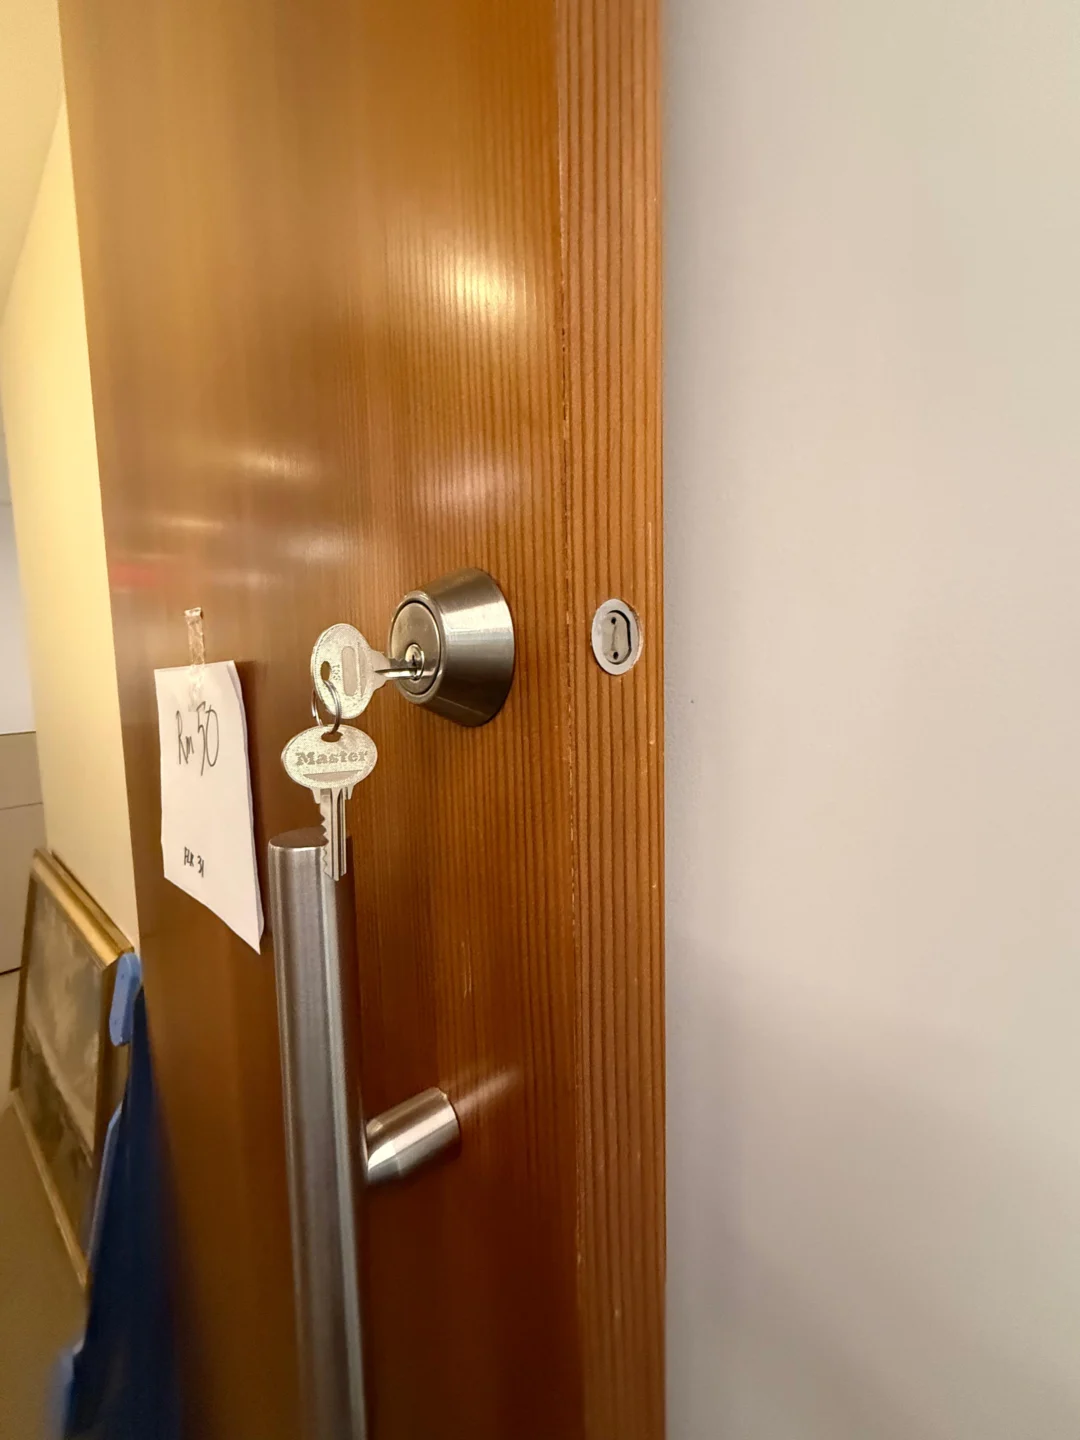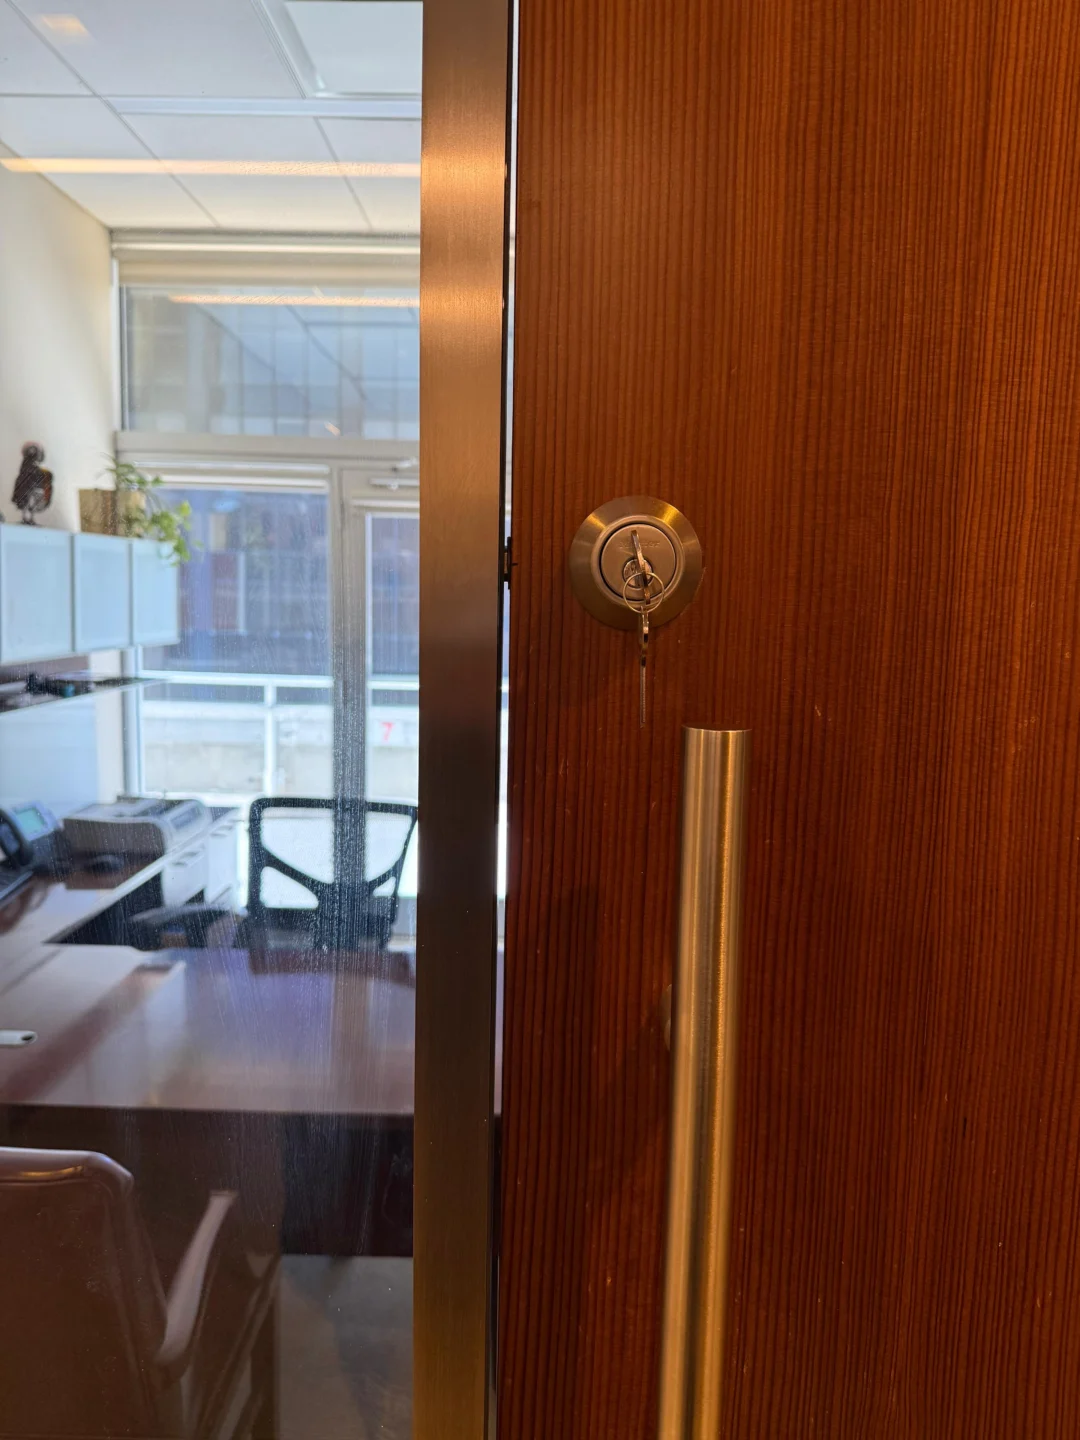
A misaligned door latch is usually easy to recognize: the latch works normally when the door is open, but when you close the door, it hits the strike plate instead of entering the opening cleanly. The important part is deciding why the latch and strike stopped lining up before you modify either one.
The strike plate may actually be in the wrong position. But the door may also have sagged because of loose hinges, shifted because of frame movement, moved inward because of weatherstripping, or changed slightly because of seasonal moisture. Schlage’s current alignment guidance specifically identifies door sag, worn or loose hinges, weatherstripping, frame movement, and strike position as possible causes when a door no longer latches correctly.
That means the correct repair sequence is: test the latch, inspect the door, identify the exact contact point, correct the door position, make the smallest necessary strike adjustment, and test again. Do not start by moving the strike plate. If the door itself has moved, adjusting the strike first can simply move the strike to follow a problem that will continue getting worse. If you have not yet confirmed which failure you have, our companion guide on a door latch that is not catching covers the full diagnosis.
Open the door and confirm that the spring latch extends and retracts normally. Next, inspect and tighten loose hinges because a sagging door can move the latch out of alignment. Close the door slowly and mark exactly where the latch contacts the strike plate. If the door is properly positioned and the latch misses by only a small amount, make a minor strike adjustment. For a larger mismatch, reposition the strike plate and create secure new mounting holes. Test the repaired door without lifting, pushing, pulling, or slamming it; the latch should enter the strike and hold the door closed naturally.
Before you adjust anything: make sure the latch itself works
Misalignment should be diagnosed only after confirming that the spring latch is mechanically healthy. Open the door. Turn the knob or press the lever several times. Watch the latch at the edge of the door. It should retract completely when you operate the handle and extend fully when the handle is released. A healthy latch should:
- Move smoothly.
- Retract fully.
- Spring completely outward.
- Return consistently after several cycles.
- Operate without requiring unusual handle force.
If the latch stays partly inside the door, moves sluggishly, or fails to spring outward, you may have a latch mechanism problem rather than a simple alignment problem. Schlage’s current latch troubleshooting identifies a worn latch or knob/lever assembly, loose hardware, and strike misalignment as separate potential causes of latch failure. Fix the mechanical latch before modifying the strike.
The open-door vs. closed-door test
This is the most useful diagnostic test in the entire repair. With the door open, operate the latch several times. Then close the door and try it again.
Works perfectly with the door open
This strongly suggests the latch mechanism itself is functioning and the problem appears only when the door interacts with the frame. Focus on the strike position, hinges, door sag, frame alignment, weatherstripping, and the door stop. Kwikset uses the same open-versus-closed test in its current door-alignment troubleshooting: if operation is smooth open but binds closed, the manufacturer treats door/strike alignment as the issue to address.
Still sticks with the door open
Stop adjusting the strike. The strike is nowhere near the latch when the door is open. Investigate the latch assembly, handle, lock chassis, loose hardware, and internal wear. Moving the strike cannot repair that problem.
Tools you may need
The exact repair determines the tools required. For a typical wood-frame latch-alignment job, useful tools can include:
- Phillips screwdriver
- Pencil
- Tape measure
- Removable chalk or marking material
- Small metal file
- Drill and appropriate pilot bit
- Sharp wood chisel
- Hammer
- Utility knife
- Replacement strike screws where appropriate
You may not need all of these. If tightening one loose hinge fixes the alignment, there is no reason to start chiseling the jamb.
Step-by-step: fix the door latch misalignment
Step 1: inspect the door before looking at the strike
Stand several feet away from the closed door. Look at the gaps between the door and frame. These gaps are often called the reveals. Compare the gap across the top, along the hinge side, and along the latch side. A door that has shifted often gives you visible clues. Look for a larger gap at one corner, the door rubbing the frame, the door sitting lower on the latch side, an uneven top gap, scrape marks, and the door needing to be lifted before closing. If the door is visibly sagging, fix its position first.
Step 2: check every hinge screw
Open the door and inspect the hinges. Check both the screws securing the hinge to the door and the screws securing the hinge to the jamb. A surprisingly small amount of hinge movement can shift the latch several millimeters at the strike. Schlage identifies worn and loose hinges as a common reason doors sag and stop aligning correctly with their latch or deadbolt strikes. Tighten any clearly loose screws appropriately. Then close the door and retest. Do not move the strike until you know whether this simple correction restores alignment.
Step 3: test whether lifting the door fixes the problem
Close the door until the latch touches the strike. Apply only gentle upward pressure to the handle. Does the latch suddenly line up? If yes, the latch is probably sitting below the strike because the door has dropped. That makes hinge or door-position repair more important than lowering the strike. If you move the strike down to match a sagging door and the hinges continue deteriorating, the door may miss the strike again later.
Step 4: check whether pushing or pulling the door helps
Now test horizontal alignment. Close the door naturally without forcing it. Try operating the latch. If it catches only when you gently push the door farther toward the stop, the door may not be resting deeply enough in the frame. If it catches only when you pull the door slightly toward yourself, the strike or stop relationship may be too tight in the opposite direction. Kwikset specifically recommends testing a closed door without pushing or pulling it: a correctly aligned door should allow the lock hardware to operate smoothly in its natural closed position. Possible causes of horizontal misalignment include weatherstripping, the door stop position, a warped door, frame movement, strike depth, and excessive pressure from another latch or bolt.
Step 5: inspect the weatherstripping
Weatherstripping can shift where a door rests when closed. This is especially worth checking if the problem began after new weatherstripping was installed, weather seals were replaced, cold weather arrived, humidity increased, or the door recently became harder to push closed. Schlage states that weatherstripping that is too thick can prevent the latch or bolt from reaching its pocket properly, while Kwikset also includes weatherstripping in its current alignment troubleshooting. Look for a seal that is folding over itself, excessively compressed, much thicker than surrounding sections, or preventing the door from sitting against its stop. Do not remove necessary weather protection without understanding the problem. Correct the fit instead.
Step 6: find exactly where the latch hits the strike
Now that you know the door itself is reasonably stable, determine the latch contact point. Do not guess. Close the door slowly several times. Look at the strike. Often you will see a polished or scratched area showing where the latch has been rubbing. The latch may hit the top of the strike opening, the bottom, the front edge, or the rear edge. Schlage recommends marking the latch or bolt to reveal the exact interference point before adjusting the strike.
Step 7: use a transfer-marking test
If you cannot see the contact point clearly, use a removable marking material. Apply a small amount to the latch face. Close the door gently against the strike. Open it again. The transferred mark shows where the latch is landing. Do not coat the entire lock or use a permanent substance. You only need enough of a mark to establish the direction: a mark above the opening means the latch is landing too high relative to the strike; a mark below means the latch is too low; a mark toward the front edge means the door may not be closing deeply enough; a mark toward the rear edge means the door may be sitting too deeply or the strike position may need correction. Now you have evidence rather than a guess.
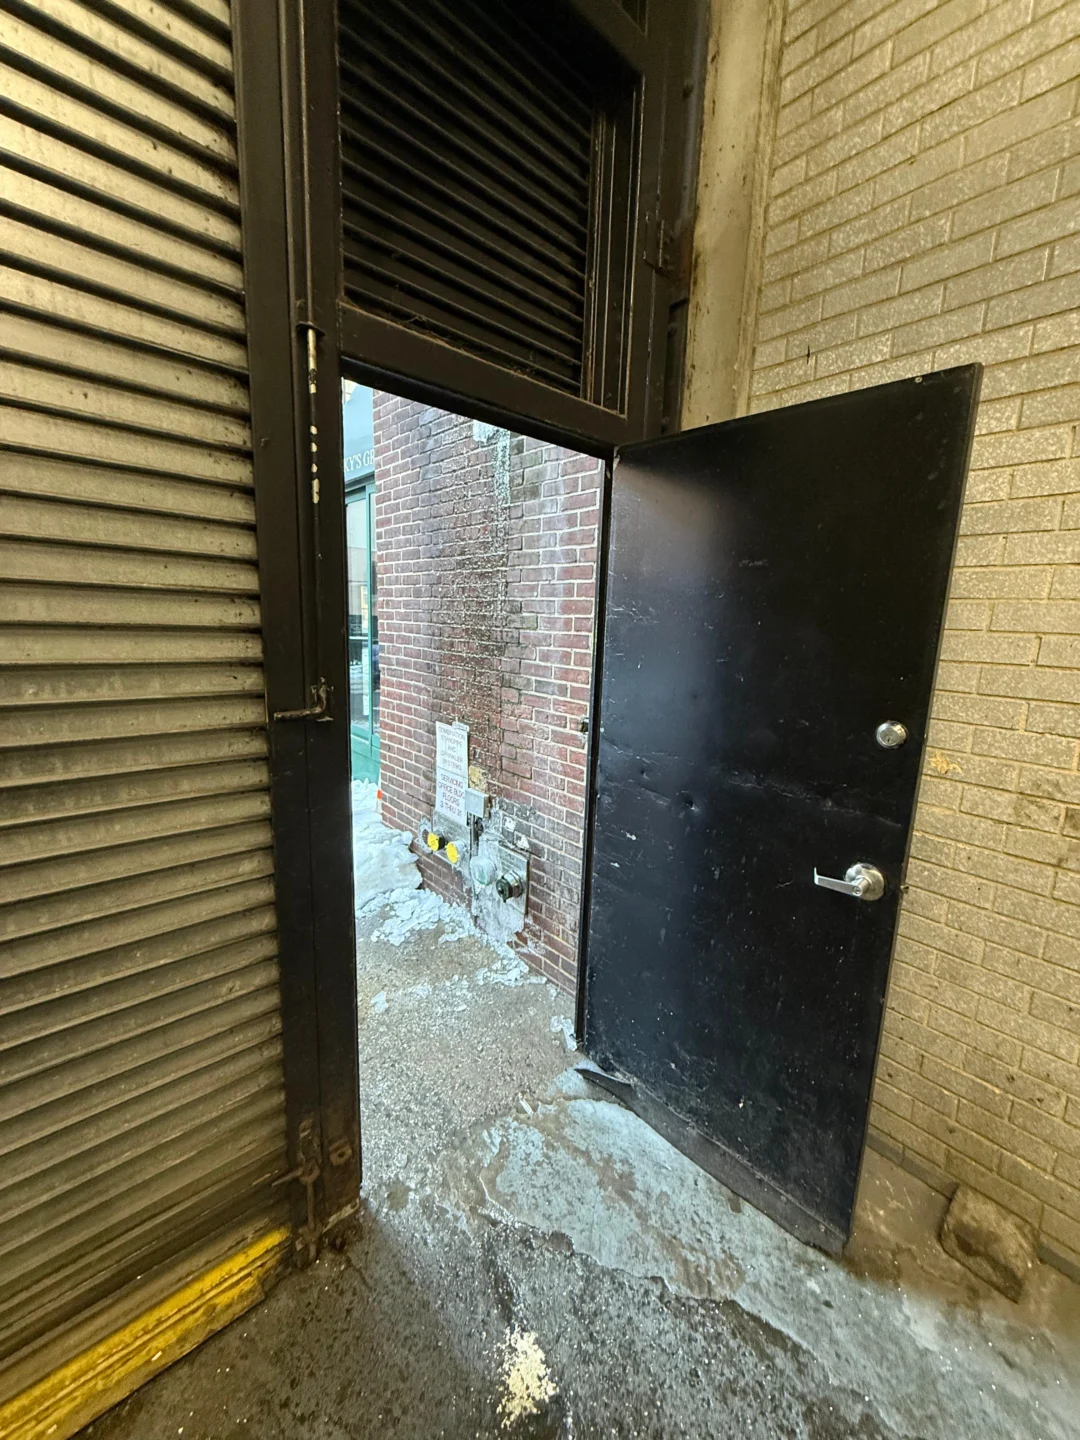
Step 8: decide whether this is a minor or major misalignment
This decision determines whether you should make a tiny adjustment or reposition the complete strike. Minor misalignment: the latch barely clips one edge of the strike and the door otherwise hangs correctly. This can sometimes be corrected by a small strike adjustment, minor filing, or a slight tab adjustment on an appropriate strike. Major misalignment: the latch clearly lands outside the strike opening. This often requires door-position correction, strike repositioning, jamb preparation, and repair of old screw locations. Do not solve major misalignment by grinding away a large portion of the strike.
Step 9: fix door sag before moving the strike
If the latch is too low because the door has sagged, return to the hinges. Check especially the upper hinge because movement there can allow the latch side of the door to drop. If hinge hardware or screw locations are damaged, repair them appropriately for the actual door and jamb construction. Do not simply install an extremely long screw because an internet guide says “use a 3-inch screw.” Fastener choice depends on the door material, jamb construction, framing, nearby glazing, and existing preparation. Restore a stable hinge connection first. Then test the latch again.
Step 10: retest before touching the strike
After correcting any hinge problem, close the door again. You may find that the strike now lines up correctly without modification. This is why hinge-first diagnosis matters. If the latch still misses slightly after the door position has been stabilized, move on to strike adjustment.
Step 11: adjust the strike tab for a door that latches but feels loose
Some standard latch strikes include an internal tab that can be adjusted slightly. This is most useful when the latch already enters the strike, the door does stay shut, but the door rattles or has too much movement. Kwikset’s current alignment instructions specifically recommend adjusting the tab on the lower knob/lever strike to help the door latch properly and improve alignment with other locking hardware. This adjustment changes how tightly the latch holds the door against the stop. It does not solve a latch that completely misses the opening vertically. Make small changes and retest.
Step 12: file the strike only for minor interference
If the latch barely hits one edge of the strike and the door is now correctly positioned, minor filing may be appropriate. Remove only the amount necessary. The process should be:
- Identify the exact contact point.
- Make a few file strokes.
- Close the door.
- Test.
- Repeat only if needed.
Do not dramatically enlarge the strike opening in one session. The strike still needs enough material around the opening to capture and hold the latch correctly. Schlage’s alignment guidance likewise recommends correcting only the area where the hardware is rubbing rather than making an arbitrary oversized opening.
Step 13: know when filing is no longer the right repair
Stop filing if the latch misses the opening by a clear distance, the strike would need substantial material removed, the door is still visibly sagging, the existing strike is already badly enlarged, screw positions are loose, or the jamb is damaged. At that point, repositioning is cleaner and more reliable.
Step 14: mark the new strike position
If the strike genuinely needs to move, determine its new position from the actual latch location. Do not estimate. With the door resting naturally where it belongs, mark the top of the latch, the bottom, the centerline, and the depth relative to the stop. Then position the strike so the latch can enter without scraping. The goal is not merely to make the hole bigger. The goal is to establish correct geometry.
Step 15: remove the existing strike carefully
Open the door and remove the strike screws. If the plate has been painted around repeatedly, lightly score the paint at its edge before removal. This can reduce unnecessary finish damage. Once the strike is removed, inspect the hidden jamb. Look for stripped screw holes, cracked wood, several old mounting locations, an oversized latch pocket, loose filler, and previous poor repairs. The condition behind the strike determines how well a repositioned plate will hold.
Step 16: repair damaged screw locations before reinstalling
Do not simply place the new screws halfway into old enlarged holes. A strike that shifts under normal use will quickly create another alignment problem. For wood jambs, damaged screw locations may need proper repair before new pilot holes are established. The exact repair depends on the extent of damage. If the jamb is significantly split or deteriorated, this is no longer just a strike-alignment project. Consider professional frame repair.
Step 17: mortise the strike only as much as necessary
If the strike needs to move, part of the jamb recess may also need adjustment. Trace the plate carefully. Use a sharp chisel on appropriate wood construction and remove material gradually. The strike should sit flat, stable, appropriately flush, and without rocking. Do not deepen the entire mortise because one corner is high. Remove only the material required for the plate to sit properly.
Step 18: make sure the latch pocket is deep enough
Even when the strike opening is aligned, the cavity behind it must provide enough room for the latch to extend. Do not confuse latch-pocket depth with the larger requirements of a deadbolt. The latch needs enough clearance to reach its fully extended position without striking material behind the plate. Kwikset’s current support repeatedly emphasizes adequate frame-hole depth for deadbolt installations because insufficient depth can prevent full bolt movement; the same general principle applies to ensuring a latch has clear room to travel, although the actual dimensions should match the specific hardware. Do not blindly copy a deadbolt’s 1-inch depth specification to every spring-latch installation. Follow the hardware preparation for your particular lock.
Step 19: drill new pilot holes where appropriate
Position the strike at the corrected location. Mark the screw centers. Drill pilot holes appropriate for the screws and jamb material. Pilot holes help establish accurate screw positioning and reduce the chance of splitting suitable wood. Do not allow the screws to pull the strike away from your marked position. Start both screws before fully tightening them.
Step 20: tighten the strike and test before making more changes
Secure the strike. Do not immediately chisel or file again. Close the door. Listen. The latch should contact the strike, retract, enter the opening, and spring outward. You should hear the normal latch engagement without slamming, lifting, pushing, or pulling. If it works, stop modifying the jamb.
Step 21: check that the door is not too tight after alignment
A strike can be moved so far that the latch now catches but the door is under excessive pressure. Test the handle from both sides. It should retract the latch without needing unusual force. If the door latches but you must pull hard on the handle to release it, the door may be held too tightly against the stop. Fine adjustment may still be required. Correct alignment balances two things: secure engagement and smooth release.
Step 22: test the deadbolt too
If the door also has a deadbolt, do not consider the repair complete until that hardware is tested. Close the door normally. Do not push or pull it. Operate the deadbolt. It should extend smoothly. Kwikset notes that a misaligned lower knob/lever latch can put additional load on an upper deadbolt. Correcting lower strike alignment can therefore improve deadbolt operation too. If your deadbolt became easier after the latch repair, the lower latch was likely holding the door in a poor position.
Best repair order by symptom
Door latch is too low
If the latch consistently lands below the strike opening, use this order:
- Confirm the latch works with the door open.
- Check the upper and other hinge screws.
- Inspect for door sag.
- Restore a stable door position.
- Retest.
- Mark the actual latch location.
- Adjust the strike only if still necessary.
Do not begin by lowering the strike.
Door latch is too high
If the latch hits above the strike:
- Inspect the overall door reveal.
- Check whether previous hinge adjustments changed the door position.
- Verify replacement hardware height.
- Confirm the latch is properly installed.
- Mark the exact contact point.
- Reposition or adjust the strike only after confirming stable door geometry.
Again, the strike is the final adjustment point – not always the first.
Door latch is too far outward
If the latch does not travel deeply enough toward the strike opening, inspect whether something prevents the door from closing fully. Look at the weatherstripping, door stop, paint buildup, a warped door, objects in the jamb, and strike depth. Kwikset specifically recommends verifying that weatherstripping does not interfere with natural door alignment. The door should latch in its natural closed position.
Door latch is too far inward
If the door appears to travel too deeply toward the jamb or the latch strikes the rear edge of the plate, inspect the door stop, strike placement, loose frame components, and prior alterations. Do not bend or hammer the latch itself. The latch needs to remain square and mechanically healthy. Adjust the receiving side of the system.
Fixing a door that latches only when lifted
This deserves emphasis because it is a classic misalignment symptom. If you can lift the handle slightly and hear an immediate click, the latch and strike are vertically misaligned. The repair is not teaching everyone in the house to lift the door. Inspect the hinges. A door that continually drops may eventually create latch failure, deadbolt binding, frame rubbing, and hinge damage. Solve the support problem.
Fixing a door that latches only when pushed
A door that needs inward pressure to catch is often not resting deeply enough against the stop. Check the weatherstripping first, particularly if it was recently replaced. Then inspect the strike placement, door stop, warping, and frame. Do not use harder closing force as the fix.
Fixing a door that latches only when pulled
This can indicate the opposite horizontal relationship. The door may be moving too deeply toward the stop or the strike position may need adjustment. Use the marking test and inspect the contact edge. Again, adjust based on where the latch actually hits.
Fixing a seasonal latch misalignment
A door that works perfectly part of the year but stops latching during humid or very cold periods may be changing slightly with the environment. Schlage specifically notes that temperature and moisture can temporarily change door fit and cause seasonal latching problems. Before making a large permanent modification, look for swelling, reduced edge clearance, seasonal weatherstripping changes, and door rubbing. A minor strike adjustment may help, but avoid cutting away substantial jamb material for a condition that disappears when the season changes.
What if the door frame has shifted?
If multiple alignment problems appear together, inspect more than the strike. Possible warning signs include large uneven gaps, the door suddenly rubbing in several places, the strike and deadbolt both badly misaligned, a visibly cracked frame, separating trim, and a door that is no longer square. That is beyond routine strike adjustment. The door or frame may need refitting. Rainbow Locksmith NY’s residential services include door measurement, fitting, alignment, and hardware integration for NYC properties.
What if the jamb is cracked around the strike?
Do not install a carefully aligned strike into badly damaged wood and assume the project is complete. Inspect whether the screws have solid material to hold. Severe cracking can require jamb repair, reinforcement, replacement of damaged material, or broader door-frame work. Alignment and structural strength are separate issues. A strike can be perfectly positioned but poorly secured.
What if the door has a closer?
On self-closing or commercial doors, the closer must bring the door through the final portion of travel far enough for the latch to engage. Do not immediately increase closer speed. First make sure the latch and strike are aligned. If the door aligns correctly but stops just short of engaging, closer adjustment may then be appropriate. Rainbow Locksmith NY’s door-closer services include adjustment of closing and latching speed as well as repairs for doors that fail to latch. A closer should not need to slam the door through a badly misaligned strike.
NYC apartment doors: alignment can become a safety issue
For NYC apartment and hallway doors subject to self-closing requirements, proper latch alignment has significance beyond convenience. NYC HPD states that apartment and hallway self-closing doors covered by the requirement must swing shut and latch by themselves. Inspectors check whether the door closes completely, whether the latch engages, whether hinges are intact, and whether another defect prevents proper operation. HPD states that a defect preventing a required door from properly self-closing, sealing, or latching can result in a Class C immediately hazardous violation, with a 14-day correction period after notice. HPD’s November 24, 2025 safety guidance also specifically instructs owners to repair defective hinges, latches, closers, and frames promptly. For these doors, a latch that catches only when someone pulls the door shut by hand is not functioning as intended.
Final test for an NYC self-closing door
Once alignment has been corrected:
- Open the door fully.
- Release it without helping it.
- Watch it swing shut.
- Confirm it closes completely.
- Listen for the latch to engage.
- Confirm the door remains closed.
That matches HPD’s own functional test for self-closing doors. Do not hold or guide the door during this test. You need to know whether the complete door system works on its own.
Do not tape the latch back to “solve” misalignment
A sticking or misaligned latch can tempt occupants to tape it inward so the door closes more easily. On required self-closing NYC apartment and hallway doors, HPD specifically warns tenants not to tamper with self-closing doors by taping the latch, propping the door open, or defeating the closing mechanism. Repair the alignment instead.
Smart locks are especially sensitive to door alignment
Mechanical deadbolts can sometimes feel usable even when slightly misaligned because a person instinctively pushes or pulls the door. A motorized lock does not. Kwikset specifically directs smart-lock owners to compare open-door and closed-door operation and check strike alignment, weatherstripping, hole preparation, and mounting pressure when a lock binds. If a smart lock repeatedly reports jams, fix the mechanical door alignment before repeatedly recalibrating or replacing batteries – our guide on smart lock troubleshooting covers the electronic side.
Do not confuse latch misalignment with a bad latch
Use this simple test.
Likely misalignment
- The latch works perfectly open.
- It fails only closed.
- There are visible strike marks.
- The door must be lifted, pushed, or pulled.
- The hinges or door position changed.
Likely latch failure
- The latch sticks open.
- The latch does not spring out.
- The handle does not retract it normally.
- The same problem occurs with the door open.
- The hardware feels worn or loose.
Schlage’s current troubleshooting separates these same categories: strike alignment, loose hardware, and worn latch/handle components.
When to replace the strike plate
Replacement may make sense when the existing strike is bent, cracked, excessively filed, badly worn, wrong for the lock, loose because mounting holes are compromised, or too small or incompatible with replacement hardware. For new Schlage lock installations, Schlage recommends using the supplied strike where the old strike does not provide the correct clearance for the new hardware. Do not assume every old strike should stay simply because the screw spacing is convenient.
When to replace the latch
Replace or professionally service the latch when it stays retracted, only partially extends, the spring action is weak, handle operation no longer retracts it correctly, it repeatedly jams even with the door open, or the mechanism is visibly damaged. Strike adjustment cannot restore a failed internal spring.
When the whole lockset may need replacement
Complete replacement may make more sense when the handle and latch are both worn, the lock chassis is loose, multiple components have failed, a replacement latch is unavailable, or the existing hardware no longer fits the door preparation properly. Rainbow Locksmith NY currently provides residential lock installation and replacement for knobs, levers, deadbolts, smart locks, and other locking systems.
When to stop DIY alignment
Professional door or locksmith service becomes more appropriate when:
- The door frame is structurally damaged.
- The jamb is badly cracked.
- Hinges repeatedly loosen.
- The door is fire-rated.
- A metal frame needs alteration.
- Mortise lock hardware is involved.
- Several strikes are badly misaligned.
- A self-closing apartment door fails HPD’s functional test.
- The door closer and latch require coordinated adjustment.
- A smart lock continues binding after basic alignment.
- The door cannot currently be secured.
The issue may involve more than a strike plate.
Common door latch alignment mistakes
Avoid these shortcuts:
- Moving the strike before checking hinges
- Filing the strike without marking the contact point
- Removing a large amount of metal immediately
- Lowering the strike to follow a sagging door
- Ignoring weatherstripping
- Using slamming as the solution
- Overtightening hardware
- Reusing badly stripped strike screw holes
- Cutting the jamb before establishing the final strike position
- Ignoring latch failure with the door open
- Adjusting a smart lock before correcting physical alignment
- Increasing closer speed to overpower a bad strike
- Taping a required self-closing latch open
The principle behind all of them is the same: do not modify the receiving hardware until you know why the door moved.
Door latch misalignment repair checklist
Before finishing the job, verify all of the following:
- The latch retracts fully.
- The latch springs out fully.
- The hinges are secure.
- The door hangs consistently.
- Weatherstripping does not force the door out of position.
- The strike is securely attached.
- The latch enters the strike opening without scraping heavily.
- The door closes without being lifted.
- The door closes without being pushed.
- The door closes without being pulled.
- The door does not need to be slammed.
- The handle releases the latch smoothly.
- The door remains closed after latching.
- The deadbolt works normally where installed.
For an applicable self-closing NYC apartment or hallway door, also confirm the door closes and latches automatically after being fully opened and released.
Frequently asked questions
How do I fix a misaligned door latch?
First test the latch with the door open to confirm the mechanism works. Then inspect the hinges and door position. Close the door slowly and mark where the latch contacts the strike. Correct loose hinges or door sag before adjusting the strike. Minor interference may require a small strike adjustment, while larger errors may require repositioning the plate and preparing new secure screw locations. Schlage recommends identifying the exact contact point before changing the strike.
How do I know if my door latch is misaligned?
If the latch works normally with the door open but hits or binds when the door is closed, alignment is the likely issue. Kwikset uses this open-versus-closed comparison as a primary door-alignment test.
Why is my door latch suddenly too low?
The latch side of the door may have sagged because of loose or worn hinges. Check the hinges and door reveal before lowering the strike. Schlage specifically identifies hinge wear and sagging as common causes of door alignment problems.
Why is my door latch too high?
The door, frame, strike, or recently installed hardware may have changed position. Inspect the complete door alignment and mark where the latch hits before raising the strike.
Why does my door latch only when I lift the handle?
Lifting the handle temporarily changes the vertical position of the latch. That strongly suggests door sag or hinge movement rather than a strike that should automatically be lowered.
Why does my door latch only when I push it?
Something may be keeping the door from reaching its proper closed position. Weatherstripping, the door stop, warping, or strike placement can all contribute. Kwikset specifically includes weatherstripping in its door-alignment troubleshooting.
Can I file the strike plate?
Yes, for small, verified interference when the door itself is correctly aligned. Remove only a small amount and test frequently. A major misalignment should be corrected by stabilizing the door or repositioning the strike rather than creating an oversized opening.
Should I move the strike plate up or down?
Only after identifying where the latch hits and confirming the door is not sagging. Moving the strike to follow an unstable door can create another misalignment later.
Can loose hinges cause latch misalignment?
Yes. Loose or worn hinges can allow the latch side of the door to move vertically. Schlage identifies worn or loose hinges as a source of sagging and lock-alignment problems.
Can weatherstripping cause door latch misalignment?
Yes. Weatherstripping that prevents the door from resting in its correct closed position can keep the latch from entering the strike properly. Both Schlage and Kwikset include weatherstripping in their current alignment guidance.
Why does my door latch but rattle?
The latch may engage but hold the door too loosely against the stop. On compatible strikes, a small adjustment to the strike tab can tighten the closed position. Kwikset specifically recommends adjusting the lower strike tab during alignment troubleshooting.
Why does my deadbolt bind after the latch catches?
The lower latch may be holding the door in a position that places pressure on the deadbolt. Kwikset documents misalignment of the lower latch/strike as a potential source of additional load on an upper deadbolt.
Why does my smart lock work open but jam closed?
That strongly suggests mechanical alignment. Kwikset instructs users to compare operation with the door open and closed and correct strike or door alignment when binding appears only after closing.
Does an NYC apartment door have to latch on its own?
For apartment and hallway doors covered by NYC’s self-closing requirements, yes. HPD states that these doors must swing closed and latch by themselves.
Can a misaligned apartment latch cause an HPD violation?
Yes, if the misalignment prevents a required self-closing door from properly closing or latching. HPD states that such defects can result in a Class C immediately hazardous violation.
Should I adjust the door closer if the latch does not catch?
First verify that the latch and strike are correctly aligned. Increasing closer force or speed should not be used to overcome significant misalignment. Rainbow Locksmith NY’s closer service separates closer adjustments from hardware and alignment repairs.
When should I call a locksmith?
Professional service is appropriate when the latch remains misaligned after hinge and strike correction, the jamb is damaged, the door is fire-rated or self-closing, mortise hardware is involved, a smart lock repeatedly jams, or the entrance cannot be reliably secured.
Get help from Rainbow Locksmith NY
Door latch missing the strike, deadbolt binding, or a self-closing apartment door that fails the HPD test? Rainbow Locksmith NY aligns latches, strikes, hinges, and closers across NYC – 24/7, with the price quoted before dispatch.
Rainbow Locksmith NY | 338 E 65th St, New York, NY 10065 | Licensed and insured | NYC DCWP License. Door and lock designs vary; make the smallest adjustment that restores reliable latching and follow your exact manufacturer’s guidance.