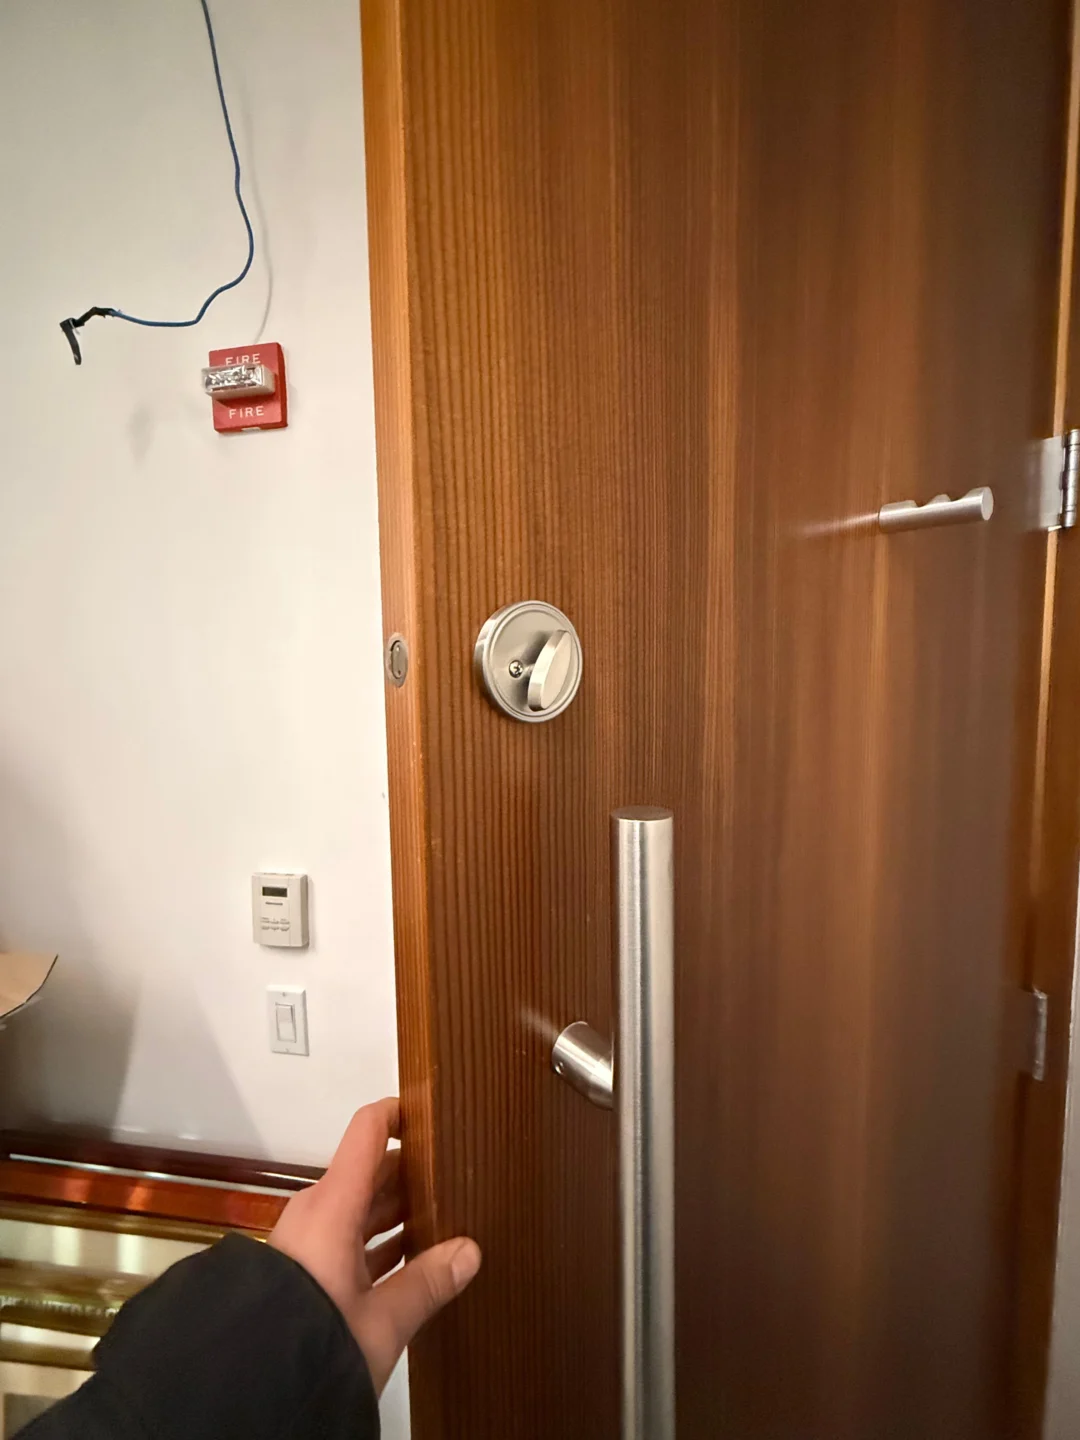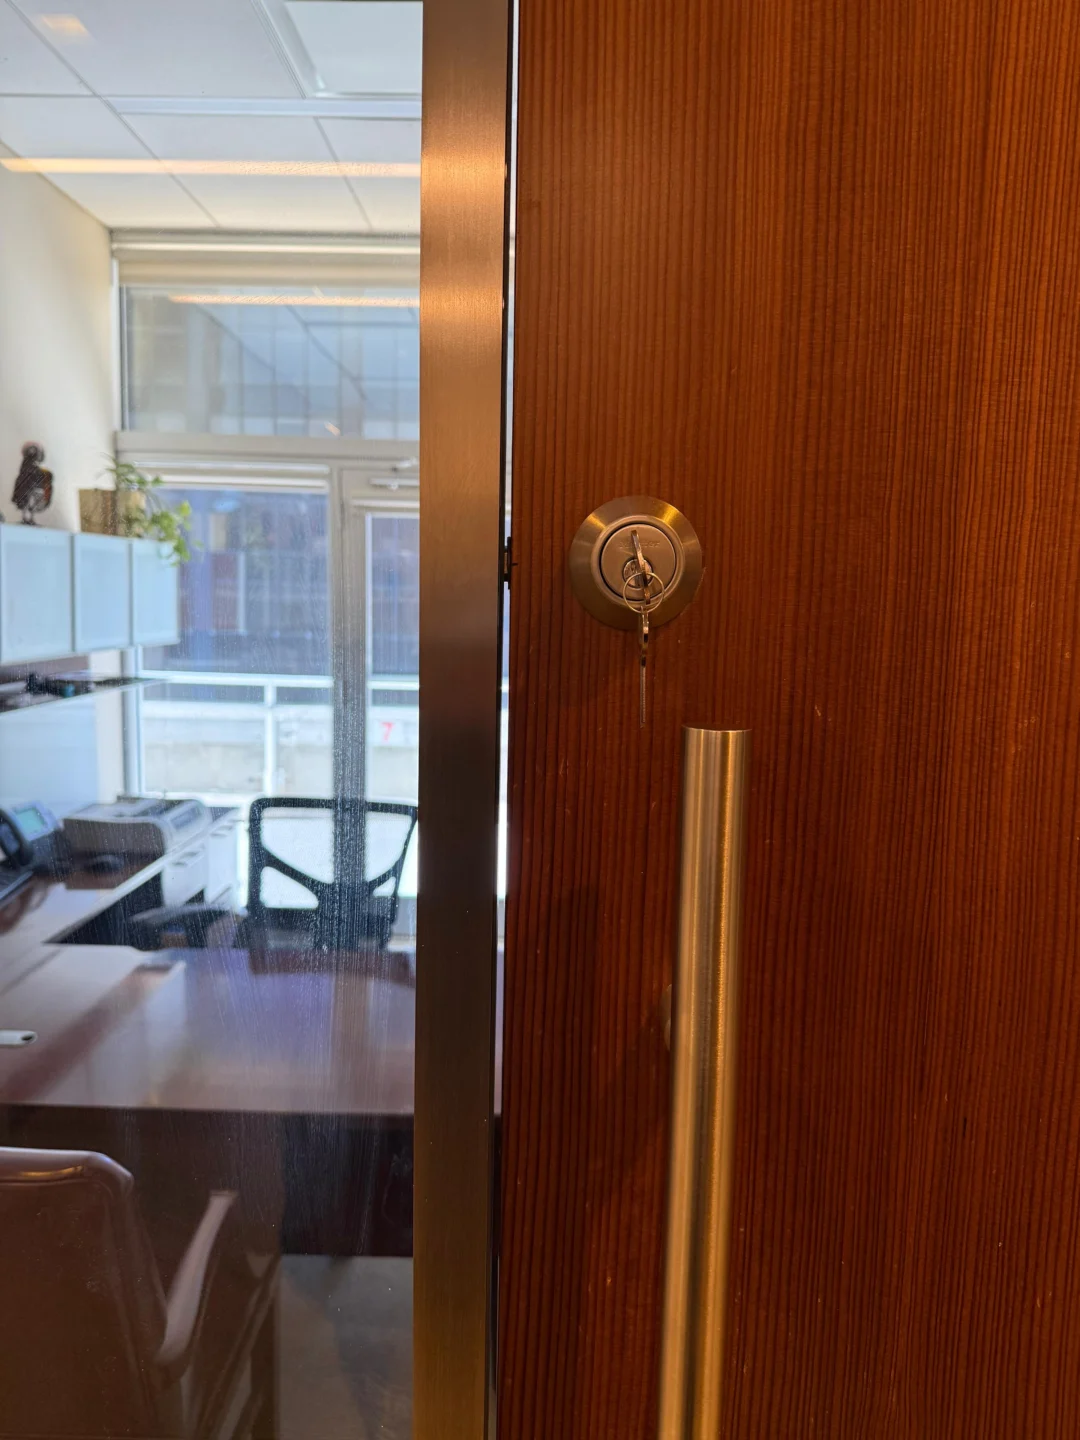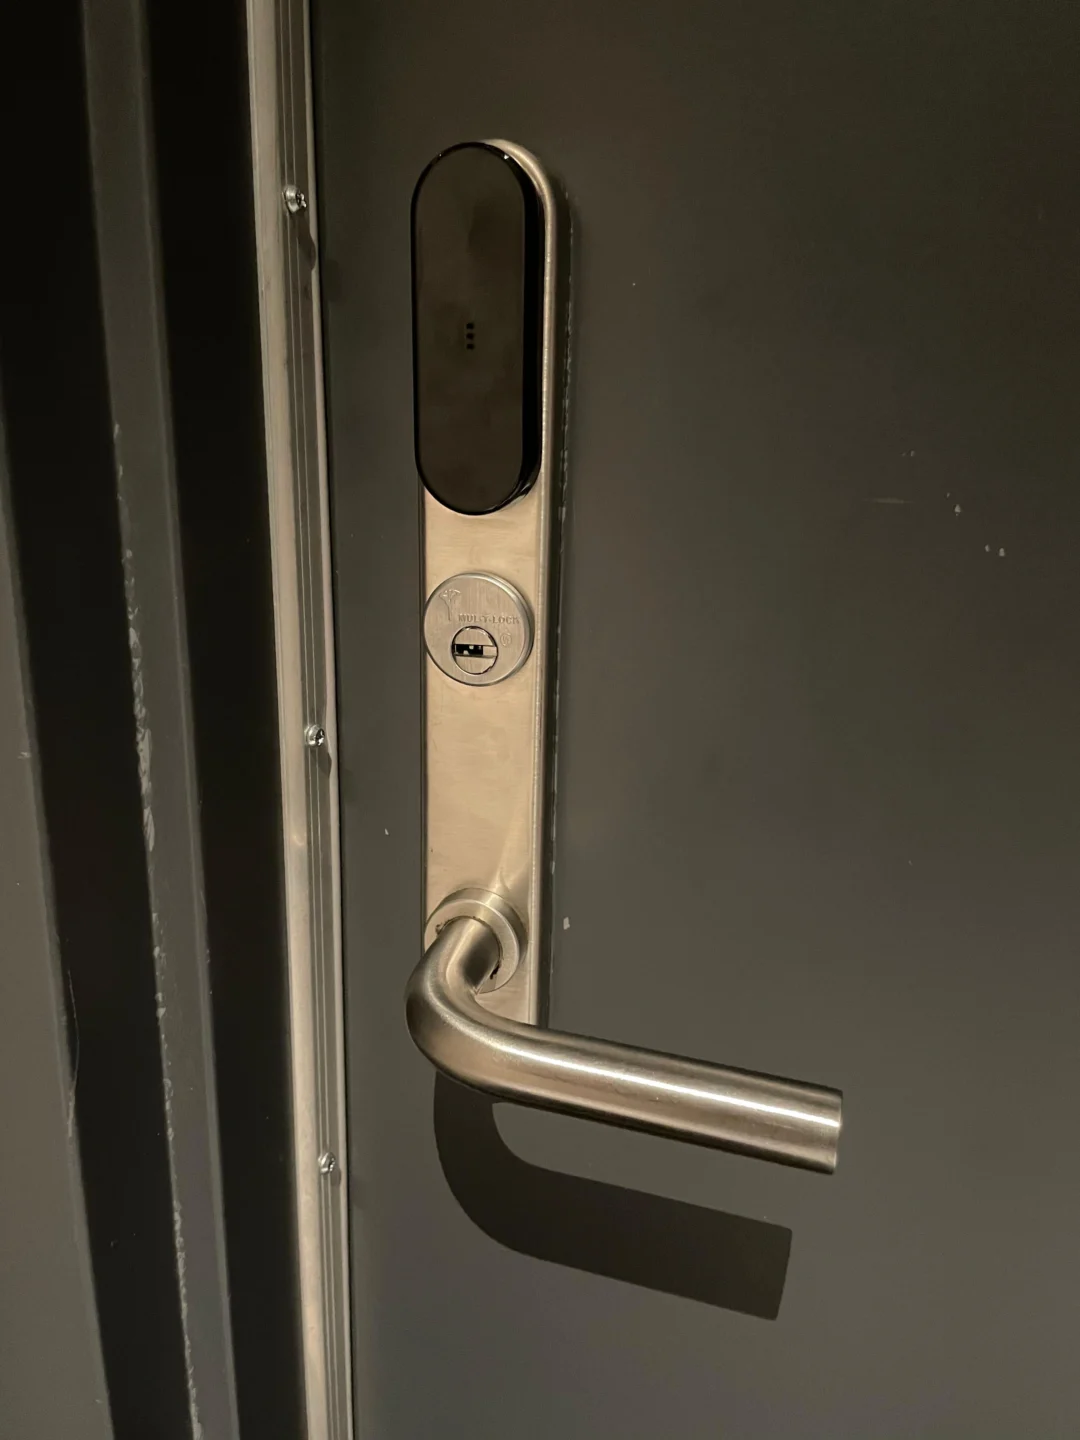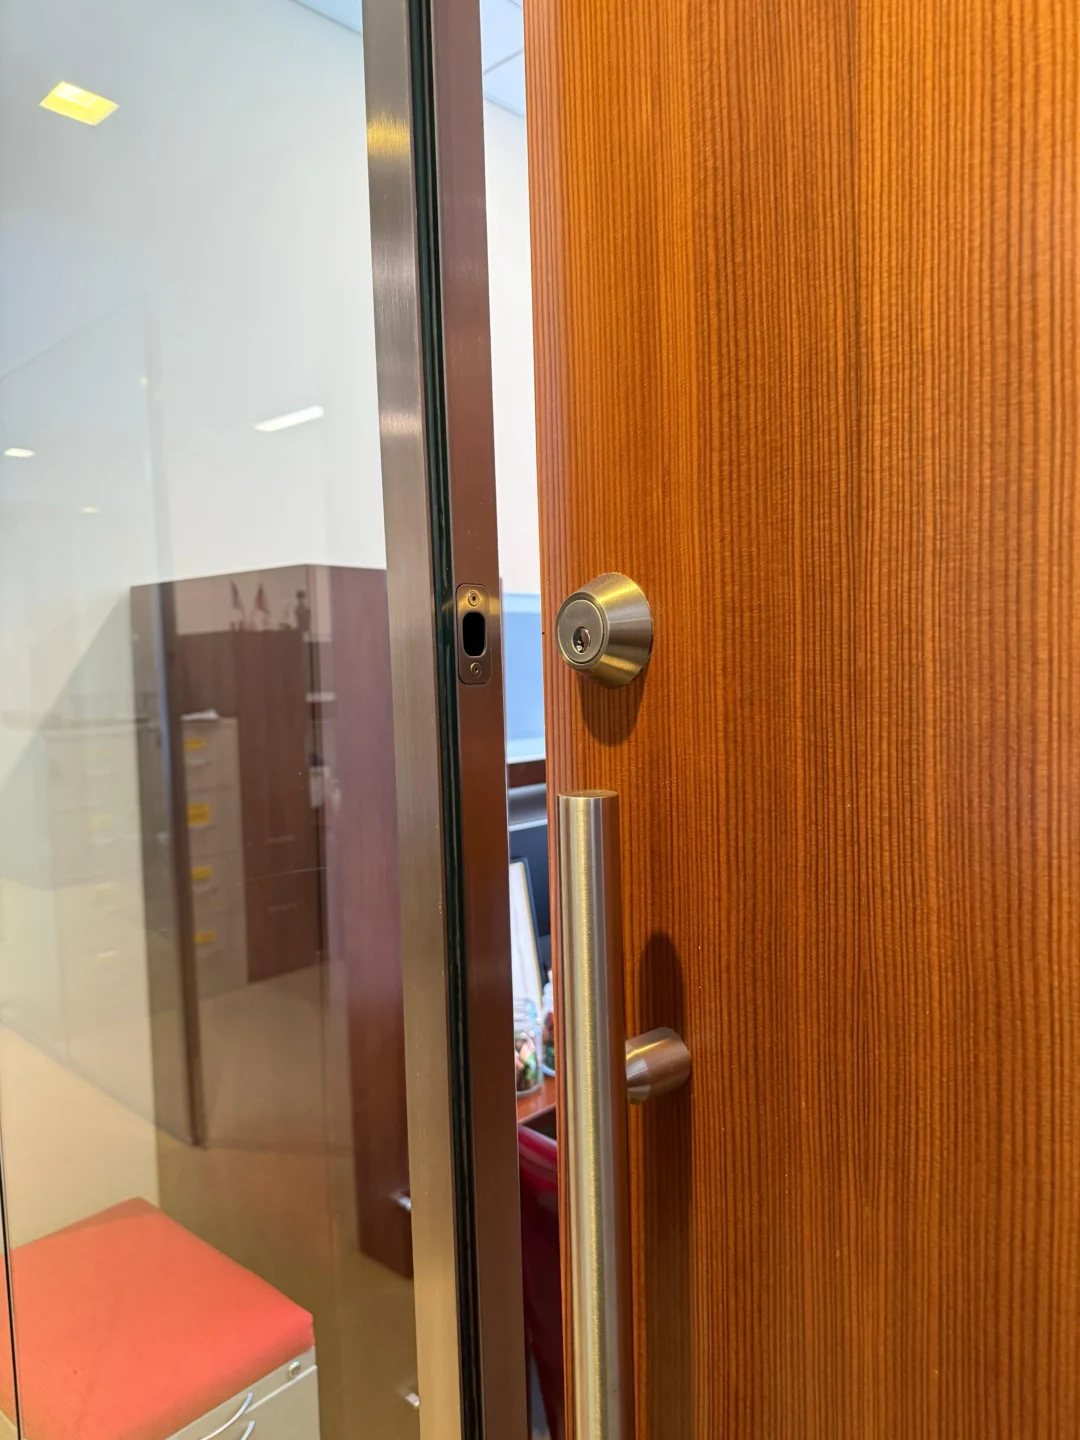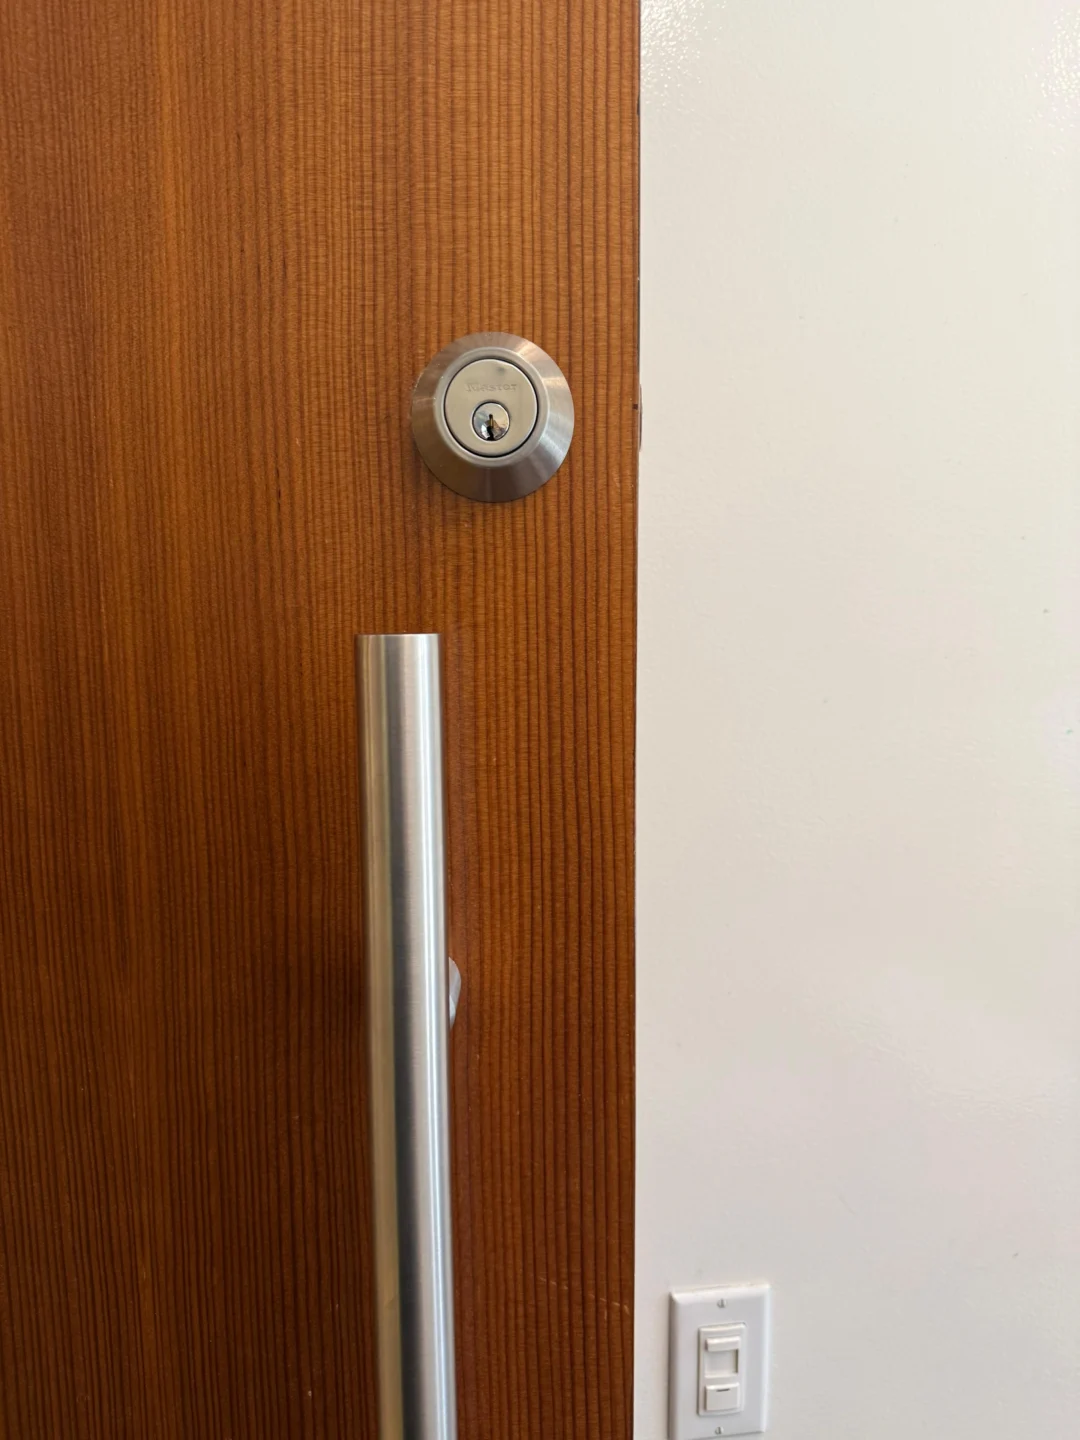
Replacing a deadbolt is usually much easier when the door already has the necessary holes. The biggest mistake is assuming that because one deadbolt came out of the opening, any new deadbolt will fit back into it.
Before removing the old lock, check four things: the diameter of the main bore through the face of the door, the backset from the door edge to the center of that bore, the door thickness, and the existing bolt and faceplate preparation. Most of the installation itself can be straightforward once those measurements match. Current Schlage residential deadbolts, for example, commonly adjust between 2-3/8-inch and 2-3/4-inch backsets, and Schlage’s installation instructions specifically address both 2-1/8-inch and certain 1-1/2-inch existing crossbores. Product compatibility still varies by model, so the replacement lock’s instructions should be the final authority.
If the existing opening is damaged, unusually sized, or belongs to a specialty apartment or metal door, forcing a standard replacement into place can turn a simple lock change into a door-repair project. Rainbow Locksmith NY’s lock installation service includes deadbolt installation and other residential lock upgrades in New York City.
Yes, if the new deadbolt matches the existing door preparation. Before buying the replacement, confirm the main bore diameter, backset, door thickness, edge-bore size, bolt faceplate style, and existing strike alignment. A common modern residential preparation uses a 2-1/8-inch crossbore and an adjustable 2-3/8-inch or 2-3/4-inch backset, but you should not treat those measurements as universal. If those measurements match your new lock, you can often replace the deadbolt with little or no new drilling.
Do this before you buy the replacement deadbolt
The most useful work happens before you remove a single screw. Take a tape measure and inspect the current installation while the old lock is still assembled. This makes it easier to identify how the door was originally prepared and whether the new lock is truly compatible.
Measure the main bore
The main bore is the large circular opening through the face of the door. You normally cannot measure it directly until the exterior and interior deadbolt trim have been removed, but you can often identify the current lock model first and confirm its required preparation. A 2-1/8-inch crossbore is common in modern residential hardware. Schlage also documents installation of certain current deadbolts on a 1-1/2-inch crossbore by removing a specific mounting bracket. That does not mean every deadbolt fits a 1-1/2-inch opening; it means certain products are designed to accommodate it. This distinction matters on older NYC doors. If the current bore is smaller than the replacement requires, choosing another compatible deadbolt may be preferable to enlarging a finished or specialty door.
Measure the backset
The backset is the distance from the edge of the door to the center of the large crossbore. The two common residential positions are 2-3/8 inches and 2-3/4 inches. Schlage’s current deadbolt instructions require the bolt to be configured for the appropriate one of these two positions before installation. Do not estimate the backset by eye. A bolt set to the wrong length can prevent the exterior cylinder, mounting screws, and interior thumb turn from lining up correctly.
Measure the door thickness
Door thickness is another specification that gets overlooked because the new trim may appear to cover the existing hole perfectly. Different deadbolt models support different thickness ranges. For example, Schlage’s current B60 residential deadbolt lists compatibility with doors from 1-3/8 inches to 1-7/8 inches, while a current Kwikset Safe Lock deadbolt lists 1-3/8 inches to 1-3/4 inches. The lesson is not that every door must fall into one universal range. The lesson is to match the actual door to the specifications of the exact lock you plan to install.
Inspect the edge preparation
Look at the deadbolt on the edge of the door. You may find:
- A rectangular faceplate
- A rounded-corner faceplate
- A drive-in collar
- An existing mortise that is larger than the new plate
- Paint covering the faceplate edges
Schlage’s current installation instructions support both rectangular and round drive-in configurations on compatible hardware, but the installation method differs. Matching the existing faceplate style can save unnecessary chiseling.
Existing-hole compatibility: what your measurement means
This is where an existing-hole article should differ from the typical deadbolt installation tutorial. The question is not simply “How do I install a deadbolt?” It is “What should I do with the hole that is already there?”
If the existing bore is 2-1/8 inches
This is one of the most common modern residential preparations and is supported by many standard deadbolts. If the backset, door thickness, bolt preparation, and faceplate also match, your installation may require little more than removing the old hardware and assembling the replacement. This is the ideal existing-hole scenario.
If the existing bore is about 1-1/2 inches
Do not enlarge it automatically. Some modern deadbolts can use a 1-1/2-inch existing crossbore, but only when the manufacturer specifically supports that configuration. Schlage’s current instructions, for example, explain how certain models are adapted for a 1-1/2-inch bore. If your replacement is not designed for the smaller opening, compare compatible hardware before permanently modifying the door.
If the existing hole is too small for the new lock
You have two basic options: select another deadbolt designed for the existing preparation, or enlarge the existing bore accurately. The first option is usually the least invasive. Enlarging an existing hole is more awkward than cutting a clean bore into an untouched slab because a hole saw’s pilot bit no longer has solid material in the center to guide it. If the door is expensive, metal, historic, apartment-specific, or difficult to replace, professional lock installation can reduce the risk of damaging the door around an otherwise inexpensive lock.
If the existing hole is too large
An oversized hole can be more troublesome than a small one. The decorative trim may hide the opening, but that does not automatically mean the lock is properly supported. Watch for:
- The lock body moving inside the bore
- Trim that cannot sit flat
- Mounting posts lacking solid support
- Previous holes exposed around the escutcheon
- Cracks around the bore
Possible repairs depend on the door and may include reinforcement plates, compatible trim, door repair, or different hardware. Do not try to stabilize an obviously poor fit merely by tightening the mounting screws harder.
Should you replace the deadbolt at all?
Before removing the old hardware, identify what problem you are actually trying to solve. If the deadbolt itself operates smoothly and the only concern is that someone else may have a copy of the key, replacement may be unnecessary. Our guide to rekeying vs. replacing locks in NYC explains this distinction well: rekeying changes which key operates a compatible existing lock; replacement changes the hardware itself.
Consider rekeying when:
- The lock still operates smoothly
- The hardware is in good condition
- You lost a key
- A tenant or roommate moved out
- You moved into a new property
- You only need old keys disabled
Consider replacement when:
- The deadbolt mechanism is worn
- The exterior trim is damaged
- The cylinder is failing
- The bolt does not operate consistently
- The hardware is corroded
- You want a different lock type
- The existing lock no longer fits your security needs
Rainbow Locksmith NY has separate rekeying services and lock replacement services for exactly this decision point.
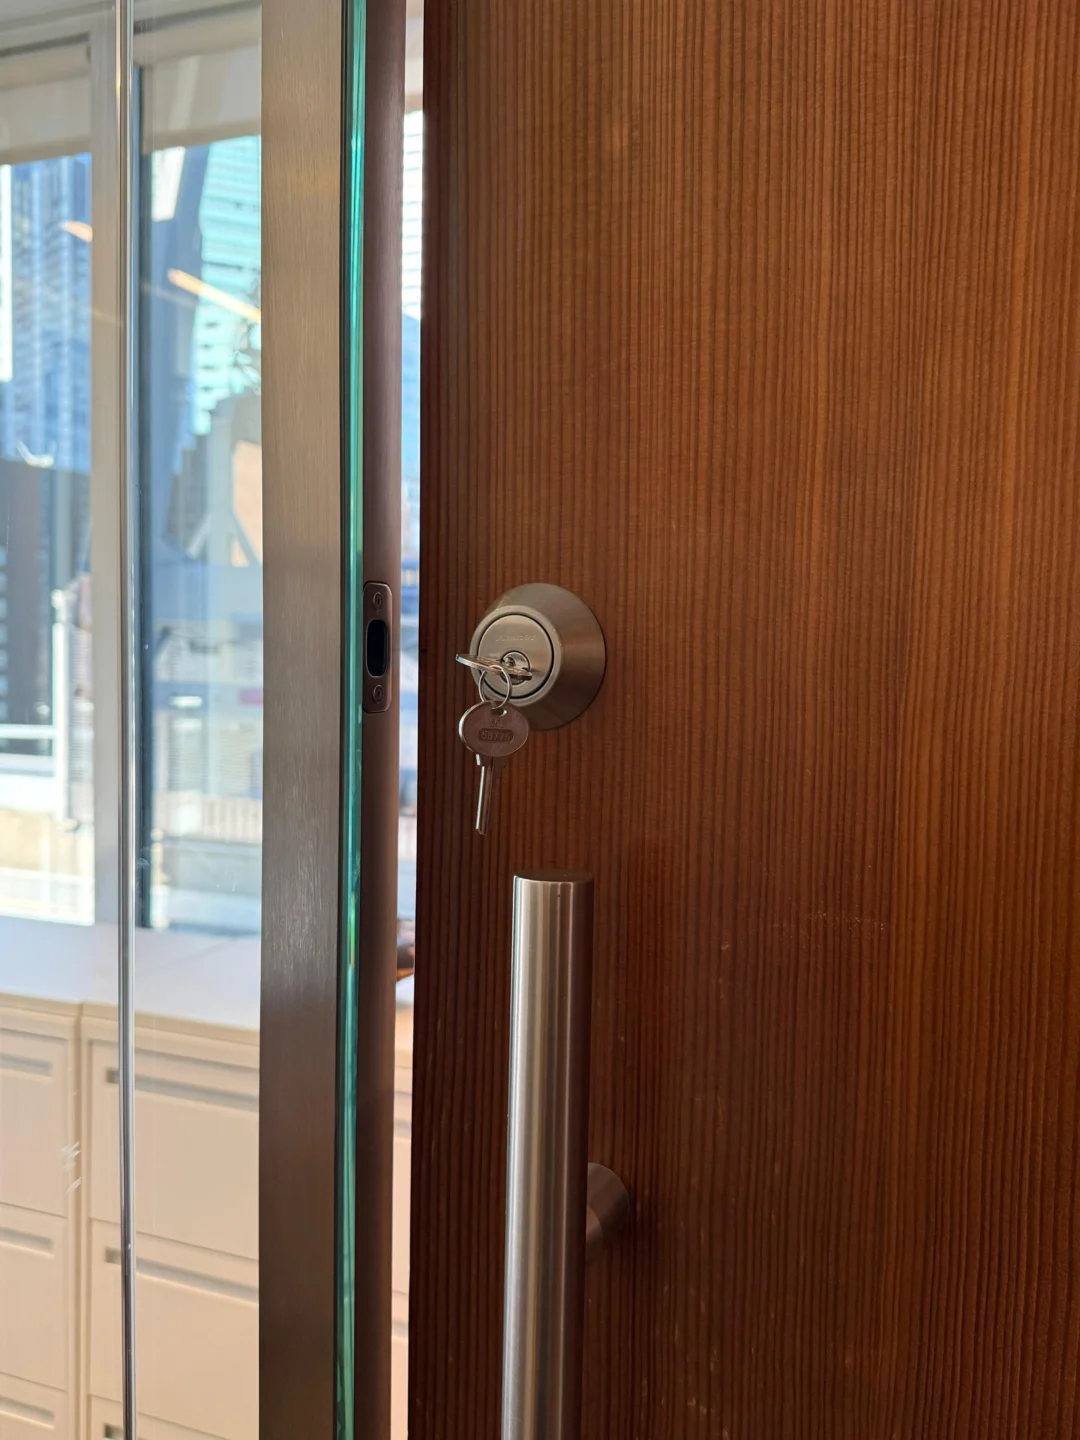
Replacing the deadbolt in the existing hole
Once you have confirmed compatibility, the actual replacement is much simpler.
Step 1: leave the door open
Do all initial work with the door open. This gives you access to both sides and prevents a poorly assembled deadbolt from becoming trapped in the strike. Schlage specifically instructs users to test the deadbolt with the door open before testing it closed.
Step 2: remove the interior assembly
Most standard residential deadbolts are held together by mounting screws accessible from the inside of the door. Support the outside portion while loosening these screws. Once they are removed, separate the interior thumb turn from the exterior keyed assembly. If decorative trim hides the fasteners, follow the instructions for the actual lock rather than prying aggressively against the door.
Step 3: remove the old bolt
Unscrew the deadbolt faceplate from the edge of the door and slide the bolt mechanism out. Keep all of the old components nearby until the new lock has been successfully installed and tested. The old bolt is useful for comparing length, faceplate dimensions, faceplate shape, backset, and overall orientation. If the new hardware looks substantially different, pause before making permanent changes.
Step 4: inspect the empty door preparation
Now that the hardware is out, you can inspect the hole accurately. Check for split wood, enlarged mounting holes, previous chisel work, metal distortion, corrosion, loose filler material, paint buildup, and a damaged edge bore. A clean, correctly sized existing hole is suitable for straightforward replacement. A badly damaged preparation is a door-repair problem as well as a lock problem.
Step 5: set the new bolt to the correct backset
Before inserting the replacement bolt, configure it to match the backset you measured earlier. Schlage’s current instructions, for example, use the shorter configuration for a 2-3/8-inch backset and an extended position for 2-3/4 inches. Do this before trying to assemble the cylinder. If the backset is wrong, the lock’s parts may look like they are “almost” aligned while remaining impossible to assemble correctly.
Step 6: install the bolt in the correct orientation
Look for a manufacturer’s orientation marking – Schlage’s current installation guidance specifies installing the bolt with its “top” marking facing upward. Insert the bolt into the edge bore. The faceplate should sit naturally in the existing preparation. It should not require the screws to pull it forcefully into place. If the new plate is a different shape from the old mortise, decide whether you need compatible alternate hardware or a small, accurate adjustment to the door.
Step 7: position the exterior cylinder
Place the keyed exterior assembly against the outside of the door and guide its tailpiece through the appropriate part of the bolt mechanism. Do not force it. If the outside assembly does not sit correctly, check the backset, bolt orientation, tailpiece orientation, crossbore size, and lock compatibility. A correctly matched lock should assemble without being pulled into position by brute force.
Step 8: fit the interior thumb turn
Place the interior assembly over the tailpiece and line up its mounting holes. Start both mounting screws before fully tightening either one, then tighten them gradually and evenly. Schlage recommends hand tools for its deadbolt installation and warns that an electric drill can strip screws or damage the lock. This is a good reason not to use an impact driver to “make” misaligned hardware fit.
Step 9: test the lock before closing the door
Operate the thumb turn several times, then use the exterior key. The bolt should extend fully, retract fully, move smoothly, avoid scraping, and avoid sticking halfway. If it does not operate correctly with the door open, the strike plate is not the problem. Correct the installation before continuing.
Step 10: close the door and test the strike
Now close the door gently and operate the deadbolt again. It should feel nearly the same as it did when the door was open. Schlage’s current instructions state that if the bolt drags or hits the strike while the door is closed, the strike or jamb needs adjustment. That open-versus-closed test is one of the fastest ways to distinguish a lock installation problem from a door alignment problem.
Troubleshooting an existing-hole deadbolt replacement
This is where many DIY guides stop too early. A replacement lock often appears to fit but behaves differently once the screws are tightened or the door is closed.
The exterior cylinder will not sit flat
If the exterior cylinder sits crooked or refuses to meet the door surface, do not tighten the interior screws until it flattens out. Check the backset and tailpiece first. The bolt may be set to the wrong length, or the tailpiece may not be passing through the mechanism correctly. Also confirm that the crossbore is large enough for the replacement’s mounting components.
The mounting screws will not start
Both mounting screws should begin threading without extreme pressure. If one lines up while the other is far off, the interior and exterior assemblies may not be centered around the bolt. Loosen everything and realign the components. Using the screw itself as a lever to drag the lock into position can leave the assembly twisted and cause binding later.
The deadbolt works until you tighten the screws
If the bolt operates normally while the lock is loose but becomes stiff after final tightening, the assembly may be overtightened or slightly misaligned. Back the screws off slightly and retest. If that immediately restores smooth movement, check whether the lock is centered correctly before tightening again evenly.
The deadbolt works open but not closed
This usually points to the strike, jamb, or door position rather than the cylinder. Schlage’s own testing procedure distinguishes the two conditions in exactly this way: first test open, then test closed, and correct the strike or jamb if the bolt drags. Possible causes include loose hinges, door sag, weatherstripping pressure, a shifted strike, frame movement, or a poorly centered bolt opening. Do not immediately replace the new deadbolt again.
You have to push the door before locking it
Pushing or pulling the door changes where the bolt meets the strike. If you have developed a habit of putting pressure on the door while turning the key, that is useful diagnostic information. The deadbolt should normally extend without requiring you to reposition the entire door by hand. Check hinges, closing pressure, frame alignment, and strike position.
The new strike is not in the same position
Do not automatically move the strike to match the new hardware. First determine whether the old strike was correctly positioned. Older doors sometimes show several generations of filled holes and previous adjustments. The correct location should be based on where the bolt naturally reaches the jamb when the door is sitting properly.
The new faceplate is a different shape
Many replacement locks provide more than one bolt-face configuration. Schlage, for example, documents rectangular and drive-in options on compatible deadbolt hardware. Check what came with your lock before chiseling the existing door. Using an alternate supplied faceplate can sometimes preserve the current preparation.
Replacing a deadbolt on an NYC apartment door
NYC apartment doors deserve more caution than a generic interior residential door. Tenants in multiple dwellings have the right to install and maintain their own locks on apartment entrance doors, but HPD states that a duplicate key must be provided to the landlord upon request. There is another issue that matters even when you are only changing a lock: door operation. HPD says apartment doors in residential buildings subject to the city’s self-closing requirements must close and latch on their own, and tenants should not interfere with that operation. That means a deadbolt upgrade should not create a situation where the apartment door no longer closes or latches properly.
For renters, the best sequence is:
- Check your lease and building requirements.
- Photograph the original hardware.
- Keep all removed parts.
- Avoid unnecessary drilling.
- Confirm that the entrance still self-closes and latches where required.
- Preserve required landlord access.
Our dedicated guide to NYC lock laws for tenants covers the building and tenant side of lock changes in more detail.
Should you install a smart deadbolt instead?
An existing deadbolt opening can also be a good opportunity to upgrade to electronic access, but only after confirming that the door itself operates smoothly. Smart deadbolts still rely on mechanical bolt movement. If a conventional thumb turn struggles because the strike is misaligned, adding a motor does not correct the underlying problem. Rainbow Locksmith NY provides smart lock installation and setup and also has a detailed comparison of smart locks vs. deadbolts for NYC apartments.
A smart-lock upgrade makes the most sense when:
- The existing door preparation matches
- The deadbolt operates freely
- The strike is correctly aligned
- The door thickness is supported
- Building rules allow the change
- You actually want electronic access features
Do not let smart features distract from basic mechanical fit.
When the existing hole should not be a DIY project
An existing hole makes replacement easier only when that hole is in good condition and compatible with the new lock. Professional help becomes more useful when:
- The existing bore is badly oversized
- A smaller bore needs accurate enlargement
- The door is steel
- The door is historic or custom
- The frame is damaged
- The strike has been moved repeatedly
- The bolt binds even after alignment checks
- The lock type cannot be identified
- The door uses specialty apartment hardware
- Fire-rated or commercial construction is involved
Rainbow Locksmith NY’s residential lock installation service specifically includes deadbolts, smart locks, high-security locks, and other residential hardware, while its lock replacement service is the better destination when the existing lock is already damaged or worn.
Frequently asked questions
Can I replace a deadbolt using the same hole?
Yes, provided the replacement deadbolt supports the existing bore diameter, backset, door thickness, and bolt preparation. Measure before purchasing the new lock.
What size hole does a deadbolt need?
Many current residential deadbolts use a 2-1/8-inch crossbore, but compatibility is model-specific. Certain Schlage deadbolts also accommodate a 1-1/2-inch existing crossbore when installed according to the manufacturer’s instructions.
What are the common deadbolt backset sizes?
The two common residential backsets are 2-3/8 inches and 2-3/4 inches. Current Schlage residential deadbolts commonly adjust between these two positions.
Can I replace a deadbolt without drilling?
Yes. If the existing hole and edge preparation match the new hardware, replacement may require only a screwdriver and basic measurement.
What if my existing deadbolt hole is too small?
First look for compatible hardware that supports the existing bore. If no suitable lock fits, the hole may need to be enlarged accurately. Do not enlarge it until you have verified the replacement lock’s requirements.
What if the hole is too large?
An oversized hole may leave the lock poorly supported even when the trim covers it. Depending on the door, you may need reinforcement hardware, compatible trim, repair, or another lock configuration.
Why won’t my new deadbolt fit the old hole?
The most common reasons are the wrong backset, unsupported bore size, incompatible faceplate, incorrect door thickness, or different mounting geometry.
Why does the deadbolt work when the door is open but not closed?
That usually means the bolt is contacting the strike or jamb. Current Schlage instructions specifically recommend adjusting the strike or door jamb when the bolt drags during the closed-door test.
Why do I have to push the door to lock it?
Pushing the door changes alignment between the deadbolt and strike. Inspect the hinges, weatherstripping, frame, and strike rather than assuming the cylinder is defective.
Should I rekey instead of replacing the deadbolt?
If the lock is mechanically sound and you only need previous keys to stop working, rekeying is usually the more targeted solution. Rainbow Locksmith NY offers residential rekeying services and has a separate rekey vs. replace guide.
Can I install a smart lock in the same deadbolt hole?
Often yes, if the smart lock supports the existing bore, backset, and door thickness. The deadbolt should also move freely before the motorized lock is installed.
Get help from Rainbow Locksmith NY
New deadbolt fighting the old hole? Rainbow Locksmith NY measures, matches, and installs deadbolts across New York City – including steel doors, prewar preparations, and apartment entrances with building requirements.
Rainbow Locksmith NY | 338 E 65th St, New York, NY 10065 | Licensed and insured | NYC DCWP License. Lock specifications vary by model; confirm your exact door preparation against the manufacturer’s instructions before purchasing.